Knot atlas / No. 02
Figure Eight
A stopper knot: tied at the end of a line so it cannot slip back through a hole or a block.

The Figure Eight set


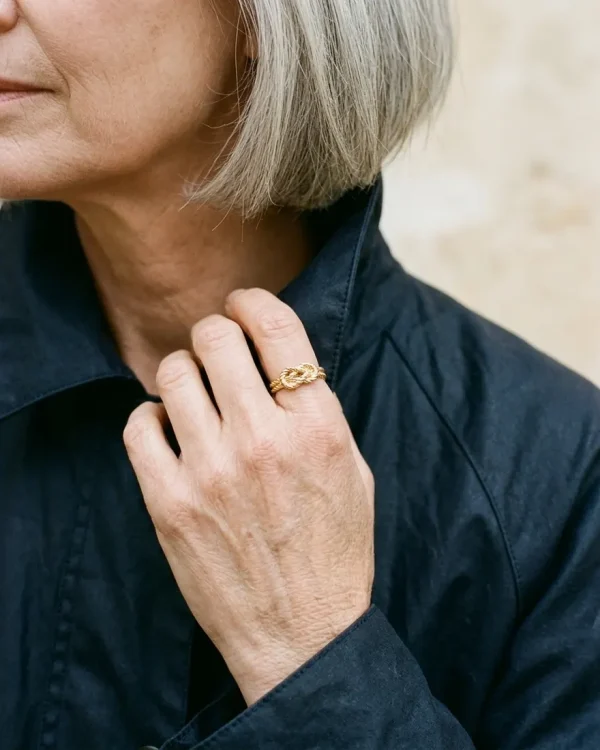
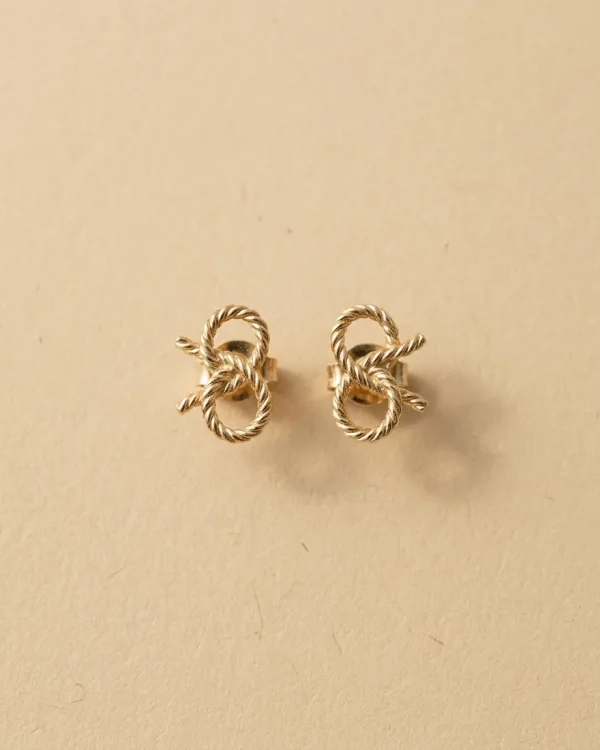
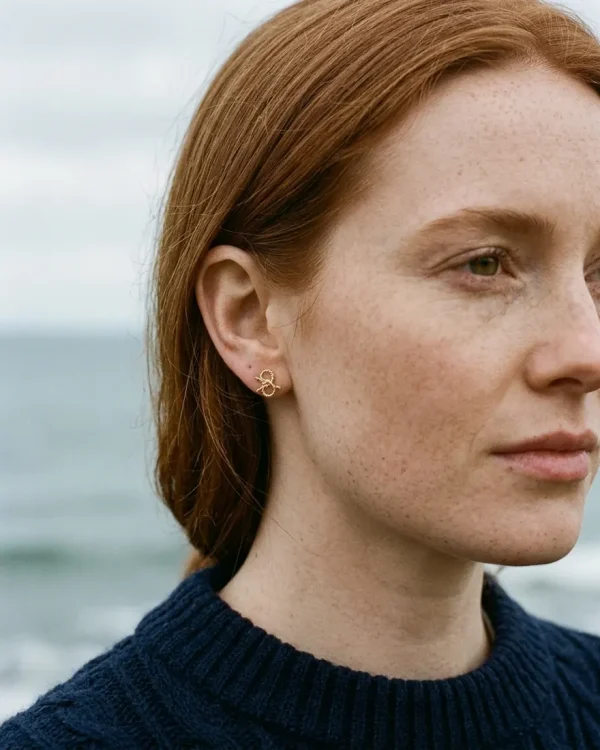


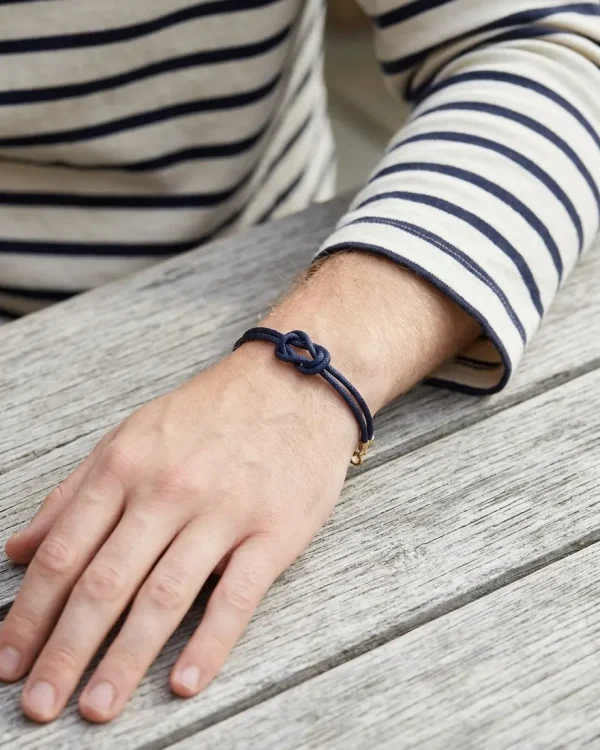


Tying card
Tie a Figure Eight
The same steps as the card in our tie-your-own cord box. Practise with any piece of string.
No. 02 · Figure Eight
-
 Step 1 / 5
Make a loop
Lay the working end over the standing part to form a loop.
-
 Step 2 / 5
Around the back
Bring the working end around and pass it under the standing part.
-
 Step 3 / 5
Down through the loop
Bring the end back over the side of the loop and push it down through the loop from the front.
-
 Step 4 / 5
Check the figure eight
Draw the end through; the rope should trace a figure 8 with four crossings, over and under in turn.
-
 Step 5 / 5
Tighten
Pull the standing part and the end to snug the knot, leaving a short tail.
1 / 5
The other knots
-
01


Reef Knot
Joins two ends of the same line, the classic knot for tying a bundle or a parcel. 10 pieces -
02

Figure Eight
A stopper knot: tied at the end of a line so it cannot slip back through a hole or a block. 9 pieces -
03


Bowline
Makes a fixed loop at the end of a line that will not slip or jam, and is easy to untie. 8 pieces -
04
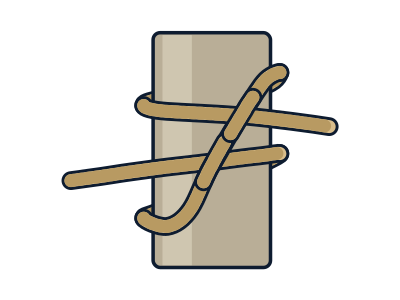
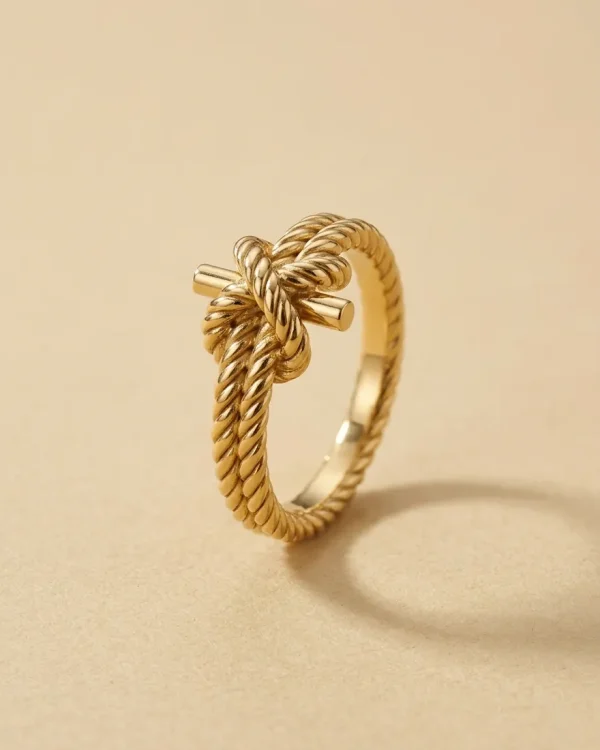
Clove Hitch
Ties a line quickly to a post or a rail with two crossing turns. 7 pieces -
05


Sheet Bend
Joins two lines, even when one is thicker than the other. 8 pieces -
06
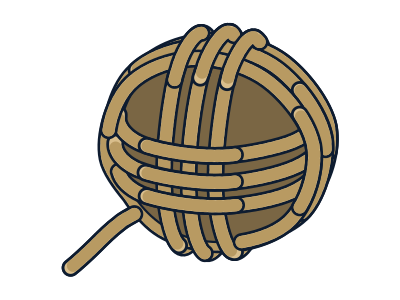
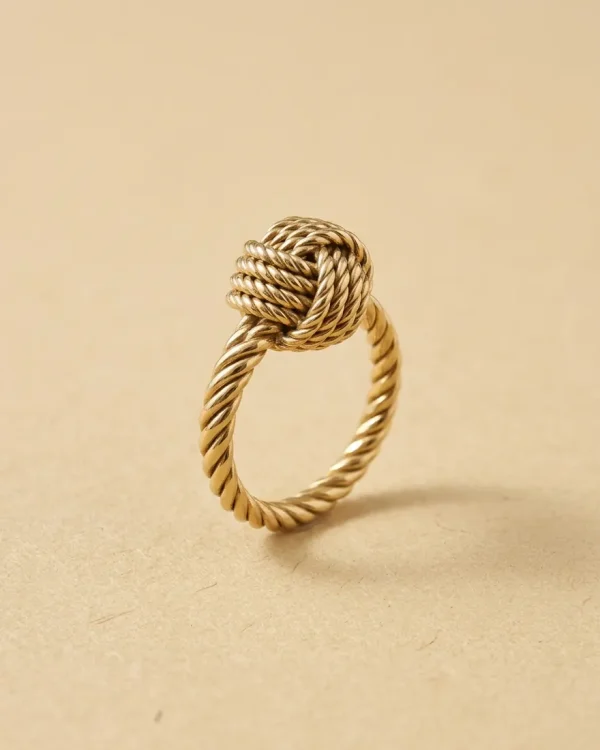
Monkey's Fist
Wraps the end of a line into a neat, round ball of turns. 7 pieces -
07


Carrick Bend
Joins two heavy lines; when laid flat it shows an even, woven pattern. 7 pieces -
08


Overhand Knot
The simplest knot: one loop with the end passed through it, the base of many other knots. 8 pieces -
09
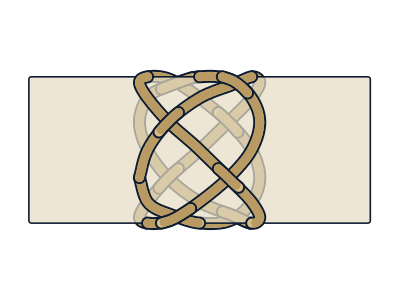

Turk's Head
A decorative woven ring of rope, tied around a rail, a handle or a wrist. 8 pieces